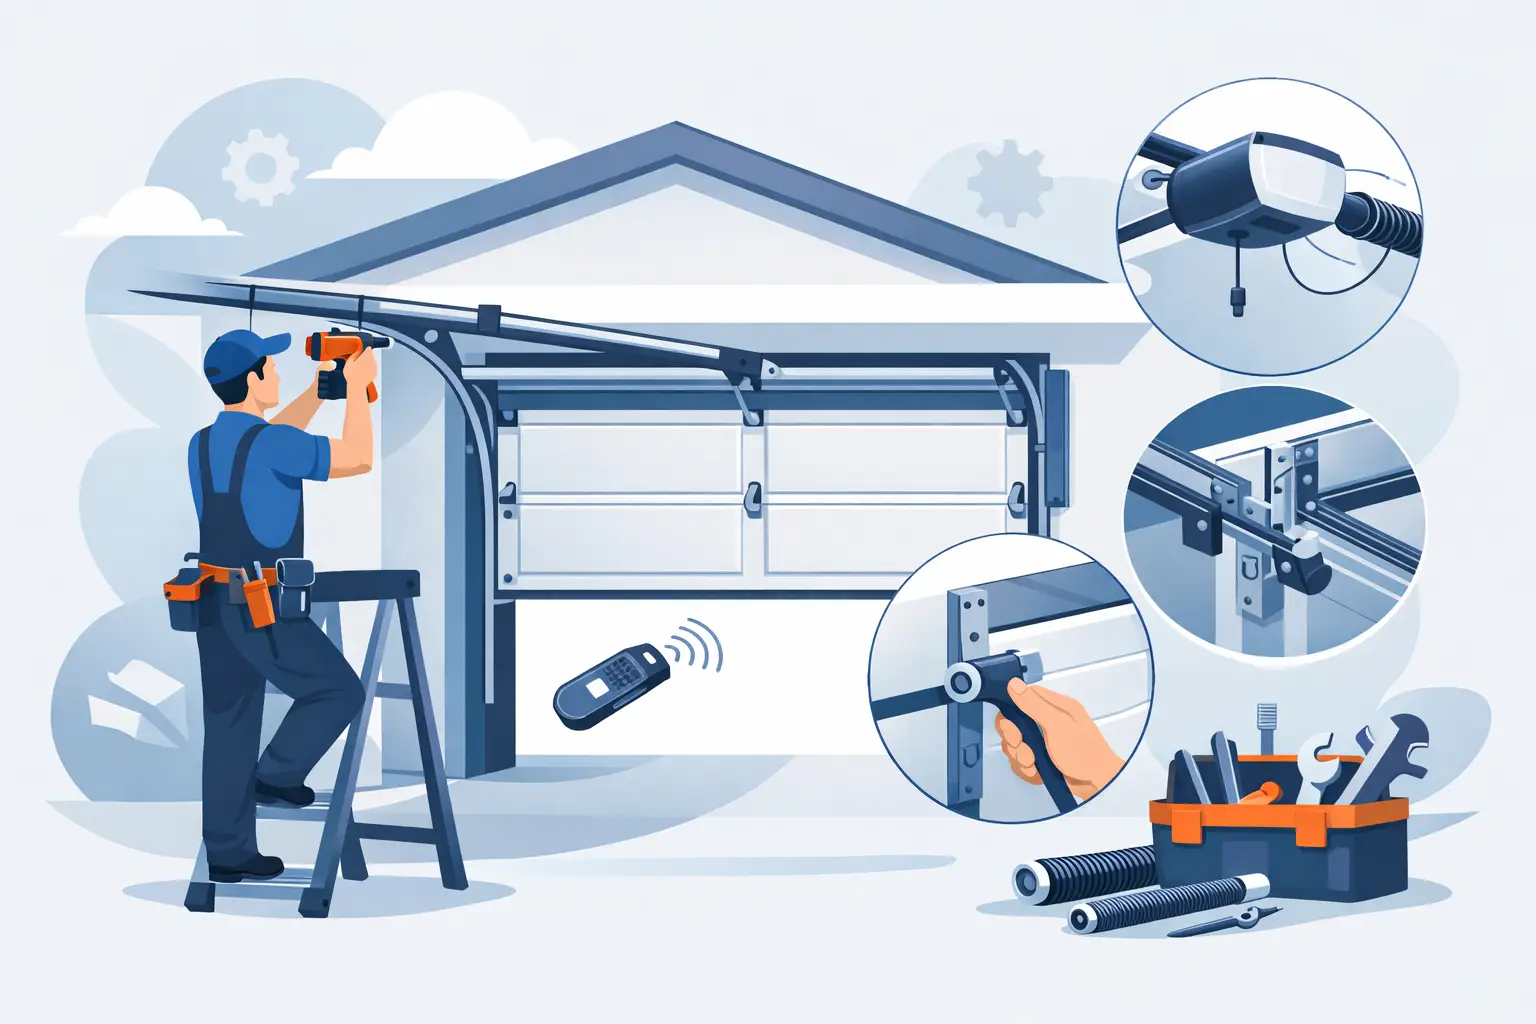
A garage door installation diagram can make a complicated system easier to understand, but it should never create false confidence around high-tension parts. Your garage door is the largest moving object in most homes. A diagram helps you see how its sections, tracks, springs, cables, rollers, and opener work together – and why correct installation matters for safety, security, and daily reliability.
For homeowners, property managers, and commercial operators in Chicagoland, the goal is not simply to get a door into an opening. It is to ensure the door is properly sized, level, balanced, sealed, and ready to operate through changing temperatures, wind, moisture, and frequent use.
What a Garage Door Installation Diagram Shows
Most installation diagrams show a front view of the door inside the garage and a side view of the track and spring system. They identify each component and show where it belongs relative to the opening, ceiling, wall, and door sections.
The door itself is made of horizontal sections connected by hinges. Rollers sit in the hinges and travel through vertical tracks at the sides of the opening, then through curved track sections and horizontal tracks along the ceiling. This path allows the door to move from a vertical closed position to a horizontal open position.
Above the opening, the diagram may show either a torsion spring system or an extension spring system. Torsion springs mount on a shaft above the door. Extension springs run alongside the horizontal tracks. Both counterbalance the door’s weight, but torsion systems are especially common on modern residential doors and many commercial applications.
An opener diagram typically identifies the rail, motor unit, trolley, emergency release, photo-eye sensors, wall control, and power connection. The opener moves the door, but it does not replace a correctly balanced spring system. If the springs are wrong, the opener works harder, wears out faster, and may not operate safely.
The Main Parts to Identify Before Installation
A clear garage door installation diagram should label more than the door panels. The details are where safe operation begins.
Door sections, hinges, and rollers
Bottom, intermediate, and top sections are not always interchangeable. The bottom section carries the bottom brackets and lift cables, while the top section often uses an adjustable top fixture to position the door correctly in the curved track. Hinges are numbered or configured according to their location, allowing the sections to bend as the door travels.
Rollers guide the door. Worn, low-quality, or improperly seated rollers can create noise, uneven movement, and premature track wear. On a new installation, roller choice depends on the door weight, expected use, and desired noise level.
Tracks and flag brackets
Vertical tracks must be plumb, parallel, and correctly spaced from the door. Horizontal tracks must slope slightly toward the rear of the garage and be firmly supported from the framing or ceiling structure. A diagram may make track placement look simple, but a small alignment error can cause binding, roller wear, or a door that comes off track.
Flag brackets connect the vertical and horizontal track assemblies near the top of the door opening. They are structural components, not decorative hardware. Their position affects the track radius and the way the door transitions from vertical to horizontal travel.
Springs, cables, drums, and bearing plates
These components carry the highest risk. Torsion springs store significant energy. Cables run from bottom brackets up to cable drums at each end of the torsion shaft. As the door closes, the springs wind and store energy. As it opens, that energy helps lift the door.
A diagram can show the left-wind and right-wind spring positions, cable routing, drum location, and center bearing plate. It cannot tell you whether a spring has been properly selected, wound, secured, and tested without the correct tools and training. Never loosen bottom brackets, cable drums, or torsion spring hardware on a loaded system.
Opener and safety sensors
The opener rail must be centered and supported. The header bracket needs to attach to solid framing, not drywall or trim. At the bottom of each side of the opening, photo-eye sensors must face one another, remain aligned, and sit low enough to detect a person, pet, or object in the door’s path.
A professional installer also verifies the opener’s force settings and auto-reverse function. A door that closes onto an obstruction instead of reversing needs immediate service.
How to Read the Installation Sequence
A good diagram is usually paired with a step-by-step sequence. Read it as a system, not as a collection of separate parts.
First comes the opening. The width, height, side room, headroom, and backroom determine which door, track style, spring system, and opener configuration will fit. A standard diagram cannot account for every garage. Low headroom, high-lift, rear torsion, and commercial setups all require different hardware layouts.
Next, installers prepare the opening and install the bottom section level across the floor. This is a critical step. If the floor slopes or the opening is out of square, the door may need a proper seal, trim adjustment, or other correction to close tightly without forcing the sections out of alignment.
The remaining sections, hinges, rollers, and vertical tracks are installed in order. After the curved and horizontal tracks are positioned and braced, the spring and cable system is installed and calibrated. Only after the door moves manually, stays balanced, and closes evenly should the opener be connected.
That order matters. Installing or adjusting an opener before the door is balanced can hide a mechanical problem until it becomes a broken spring, stripped opener gear, damaged track, or off-track emergency.
Measurements a Diagram Cannot Replace
Diagrams are useful reference tools, but they do not replace an on-site measurement. Before ordering a new garage door, a technician should confirm the finished opening dimensions and the available space around it.
Side room is needed for tracks and spring hardware. Headroom is the clear space above the top of the opening. Backroom is the distance from the opening to the rear wall, which must accommodate horizontal tracks and the open door. Obstructions such as beams, ducts, pipes, shelving, and electrical equipment can affect the system design.
Door weight also matters. Insulated steel doors, wood doors, glass doors, and commercial doors can vary greatly in weight. The springs must match the actual door, not an estimate. Incorrect spring sizing may allow a door to open, but it can lead to hard operation, unsafe closing, and shortened component life.
In the Chicago area, weather sealing deserves careful attention as well. A bottom seal, perimeter weatherstripping, and properly aligned door sections help limit drafts, moisture, and snow intrusion. They also reduce the chance that a door freezes to the floor during winter conditions.
When a Diagram Is Enough and When to Call a Professional
A garage door installation diagram is helpful when you are comparing door styles, planning garage storage, identifying a component, or preparing questions for an installer. It can also help a property manager document existing equipment or explain a service issue to a technician.
It is not a safe substitute for spring installation, cable replacement, track straightening, or opener force adjustment. Those jobs can involve stored energy, heavy door sections, electrical connections, and structural mounting points. The risk is higher when a door is already crooked, noisy, stuck, or off track.
For commercial doors, the need for professional installation is even clearer. Rolling steel doors, sectional overhead doors, high-cycle springs, dock-area equipment, and motor operators must be selected and installed for the building’s use, clearance, security requirements, and operating schedule. A brief outage can interrupt deliveries, access, and business operations.
Questions to ask before an installation
Before approving the work, ask whether the quoted door includes insulation, weather seals, new tracks, springs, rollers, and haul-away of the old door. Confirm the expected headroom requirements, opener compatibility, warranty coverage, and whether the installer will test balance and safety reversal before leaving.
For homeowners, it also makes sense to ask how the door will perform during a power outage. A properly installed emergency release should allow manual operation when the opener has no power, provided the door is balanced and in good condition.
A Diagram Is a Starting Point, Not the Safety Check
The value of a garage door installation diagram is that it turns an unfamiliar mechanism into a visible plan. You can see why a bent track affects rollers, why a broken spring affects the opener, and why a loose cable is more than a cosmetic problem.
But the final test happens after installation: the door should move smoothly by hand, remain balanced through its travel, seal correctly at the floor, reverse when required, and operate without excessive noise or strain. Garage Door Mart Inc can assess the opening, install the right system, and verify every safety function before the door goes into daily service. A correctly installed door is one less thing to worry about when you leave for work, receive a delivery, or close up for the night.