A garage door opener is easy to take for granted until the door stops halfway, reverses without warning, or leaves you stuck outside during a Chicago winter. Searches for how to garage door opener installation usually begin with a simple goal: restore reliable access without creating a safety problem. The work is manageable in the right conditions, but an opener installation depends on a balanced door, secure mounting, proper electrical setup, and correctly adjusted safety controls.
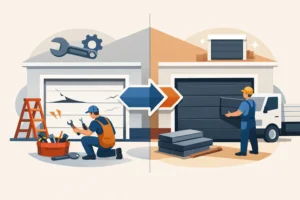
For many homeowners, replacing an existing opener is less complicated than installing one where no opener has ever been used. Still, the door itself deserves attention before any new motor goes up. An opener is designed to move a properly operating garage door. It should not be used to compensate for broken springs, worn rollers, damaged tracks, or a door that feels heavy to lift by hand.
Start With the Door, Not the Opener
Before choosing an opener, disconnect the existing unit if one is installed and operate the garage door manually. With the door fully closed, pull the emergency release cord, then raise the door slowly by hand. A properly balanced door should move smoothly and stay near the halfway point without dropping or shooting upward.
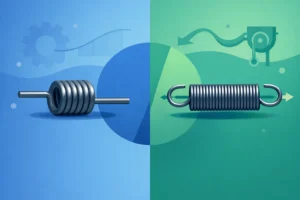
If the door is unusually heavy, binds along the tracks, makes grinding sounds, or will not remain in position, stop there. Those symptoms often point to spring tension, cable, roller, or track issues. Garage door springs are under extreme pressure and are not a DIY adjustment. Installing a new opener on an unbalanced door can damage the motor and create a serious injury risk.
For property managers and commercial operators, this check is even more critical. A heavy sectional door, rolling steel door, or high-lift system needs an opener matched to its specific weight, travel, and daily usage. Residential equipment is not a substitute for commercial-duty hardware.
Choose the Right Garage Door Opener
The best opener depends on the door, the garage layout, and how the space is used. Chain-drive openers are durable and cost-effective, making them a practical fit for many detached garages. They do produce more noise and vibration than other options.
Belt-drive openers operate more quietly, which matters when there is a bedroom, office, or living space above or next to the garage. Screw-drive and wall-mount openers can be useful in garages with limited overhead space, though compatibility depends on the door setup and available side clearance.
Look for a unit with enough lifting capacity for your door, battery backup if power outages are a concern, and photo-eye safety sensors. Smart controls can add convenience by allowing remote monitoring and alerts, but they do not replace proper installation or regular maintenance. A good opener should include a safety reverse system, a manual emergency release, and a compatible rail length for the height of the door.
How to Install a Garage Door Opener: Prepare the Space
Read the manufacturer’s instructions before opening hardware bags or assembling the rail. Opener models vary, and the installation manual is the final authority for bracket placement, wiring, limits, and programming.
Start by measuring the garage door height and checking the clearance above it. Most standard installations need room for the opener rail above the door and space at the back of the garage for the motor unit. Measure the distance from the top of the open door to the ceiling, as well as the distance from the header to the rear wall.
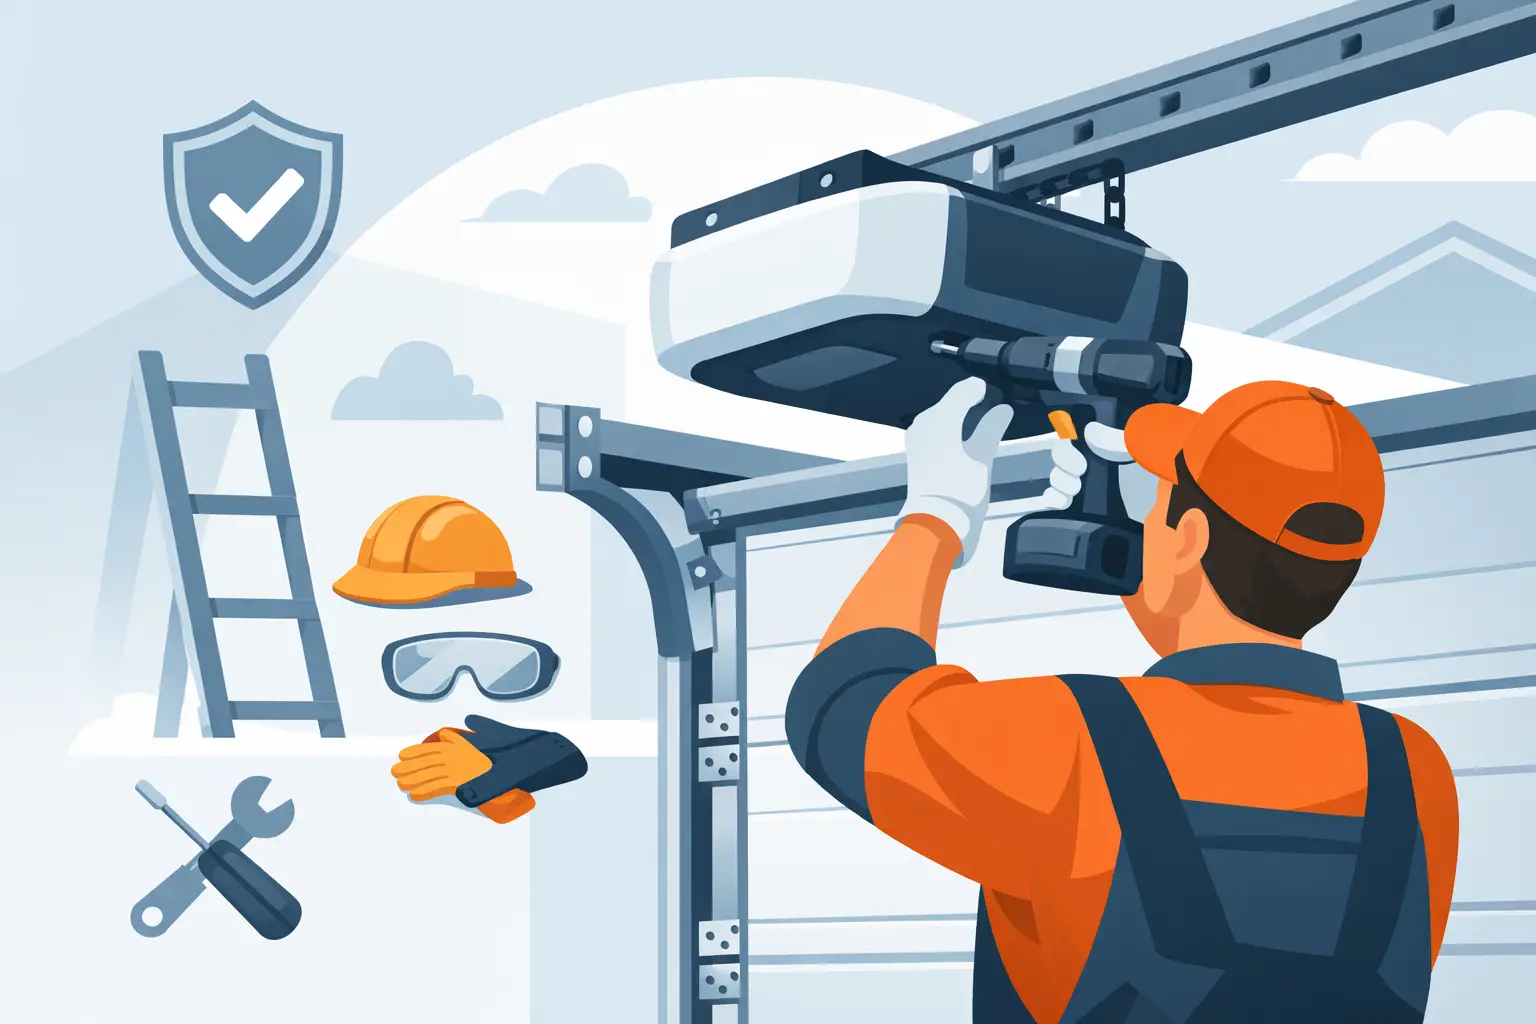
You will generally need a drill, bits, socket set, wrenches, tape measure, level, stepladder, locking pliers, and a stud finder where appropriate. The opener must be supported from structural framing, not drywall, thin ceiling material, or an improvised board that is not securely anchored.
Turn off power to the garage circuit before performing electrical work. If there is no properly grounded outlet near the opener location, have a qualified electrician install one. Do not run an opener on an extension cord as a permanent solution.
Install the Header Bracket and Rail Assembly
The header bracket carries the pulling force that opens and closes the door, so placement matters. Locate the vertical centerline of the garage door and mark it above the door opening. The bracket should be mounted to solid framing at the height specified by the opener manufacturer, often above the top travel point of the door.
Do not attach a header bracket to a weak trim board or unsupported drywall. The repeated load of the door can pull an improperly mounted bracket loose. If the garage has masonry construction, use fasteners rated for masonry and verify the condition of the surface before drilling.
Assemble the rail and attach it to the motor unit according to the manual. Then raise the rail and connect it to the header bracket. Support the motor unit at the correct height using a ladder while you install hanging brackets from ceiling joists or suitable framing. The rail should remain level and centered with the door.
If framing does not line up with the included hanging straps, use approved angle iron or other properly rated support materials. This is one area where shortcuts cause vibration, noise, and premature opener failure.
Connect the Door Arm and Safety Sensors
With the garage door closed, install the door bracket in the manufacturer-approved location. Reinforcement may be needed on lightweight doors, especially insulated steel doors, to prevent the top section from bending under the opener’s pulling force.
Connect the curved and straight door arms, then adjust them so the door can travel smoothly without placing the rail or trolley under stress. Keep hands clear of moving parts throughout testing.
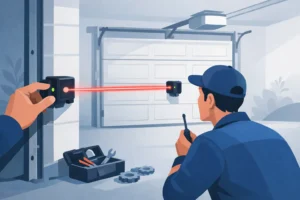
Next, install the photo-eye sensors on both sides of the door opening. They are typically mounted a few inches above the floor, directly facing one another. Their lenses must be clean, aligned, and protected from being bumped by bikes, boxes, trash bins, or snow shovels.
Run the low-voltage sensor wires neatly along the wall and ceiling, securing them without pinching or damaging the insulation. A blinking sensor light or an opener that closes only when the wall button is held down often indicates a sensor alignment or wiring problem.
Set Travel Limits and Test Every Safety Feature
After connecting the opener to power, program the up and down travel limits. The door should open fully without the trolley striking the opener body and close fully without excessive pressure against the floor. Set the force controls only as directed by the manufacturer. Increasing force to overcome a sticking door is not a repair.
Test the safety reverse feature by placing a solid object, such as a piece of lumber, flat on the floor in the door’s path. When the closing door contacts it, the door should reverse promptly. Then test the photo-eyes by starting the door downward and passing an object through the sensor beam. The door should stop and reverse.
Test the wall control, remote controls, keypad, manual release, and battery backup if included. Make sure everyone in the household knows where the emergency release is located and understands that it should only be used when the door is closed whenever possible. Releasing a door with a failed spring or damaged cable can allow it to fall unexpectedly.
When Professional Installation Is the Better Choice
A careful DIY installation can work for a standard, well-balanced residential door with proper framing and an available outlet. It becomes less predictable when the door is oversized, the ceiling is unusually high, the garage has older construction, or the existing system has spring, track, or electrical concerns.
Professional installation is also the safer route for commercial doors, jackshaft systems, wall-mounted openers, and homes where the door is noisy, off track, or difficult to lift. A technician can identify issues that a new opener will not fix, mount the equipment correctly, and verify the safety system before the door goes back into everyday use.
Garage Door Mart Inc helps homeowners, property managers, and businesses across the Chicago-land area with opener installation, replacement, adjustment, and urgent repair needs. Clear appointment communication and a complete on-site inspection help prevent a new opener from being installed over an existing door problem.
A garage door should close securely, open without strain, and reverse when it encounters an obstruction. If any part of that sequence is uncertain, pause the project and have the system inspected. Reliable access starts with a door that is safe to operate, not simply a motor that turns on.