A garage door that will not respond at 6:30 a.m. can stop the entire day before it starts. Sometimes the fix is as simple as restoring power or reprogramming a remote. Other times, a reset can hide a larger problem with the opener, safety sensors, door springs, or the door itself. Knowing how to reset garage opener controls safely can help you rule out the simple issues without putting yourself, your vehicle, or your garage door at risk.
Before pressing buttons at random, identify what has actually stopped working. Does the wall button operate the door but the remote does not? Is the opener making noise without moving the door? Did the problem begin after a power outage, a dead remote battery, or a storm? Those details determine which reset makes sense.
Start With a Safe Basic Check
Keep people, pets, and vehicles clear of the garage door while troubleshooting. Do not stand beneath a partially open door, and do not pull on cables, springs, or brackets. Those components carry extreme tension and are not DIY repair parts.
First, check whether the opener has power. Confirm that the outlet is working, the opener is plugged in, and no breaker or GFCI outlet has tripped. In many Chicago-area garages, a power interruption, cold-weather electrical issue, or accidentally unplugged cord is the real cause of an unresponsive opener.
If the opener has power, look at its overhead light or display panel. A flashing light, a diagnostic code, or repeated clicking can point to a sensor or mechanical issue rather than a programming problem. Also inspect the photo-eye sensors near the bottom of each side of the door. They should face one another, have clear lenses, and show steady indicator lights. Snow, road salt residue, spiderwebs, storage items, or a bumped sensor bracket can keep the door from closing.
How to Reset Garage Opener Power
A power reset is the least invasive option and is useful when the opener has frozen, lost communication after an outage, or is behaving inconsistently.
Unplug the garage door opener from its outlet. Wait at least 60 seconds before plugging it back in. This gives the internal control board time to fully discharge and restart. Once power is restored, test the wall button first. If the wall button works but the remote does not, the motor unit is likely fine and the remote may need a battery replacement or reprogramming.
Do not repeatedly unplug and reconnect the opener in quick succession. If the unit hums, smells hot, trips the breaker, or fails to operate after a proper power reset, stop using it. An electrical fault or failing motor component needs professional attention.
A power reset usually does not erase remote controls or travel settings. If it does not restore normal operation, move on to the specific reset that matches the symptom.
Resetting a Garage Door Remote
If the wall-mounted button opens and closes the door but your handheld remote does nothing, start with the remote. Replace the battery with the correct type, making sure it is installed in the proper direction. A weak battery can still make an LED light appear, yet lack enough power to transmit a reliable signal.
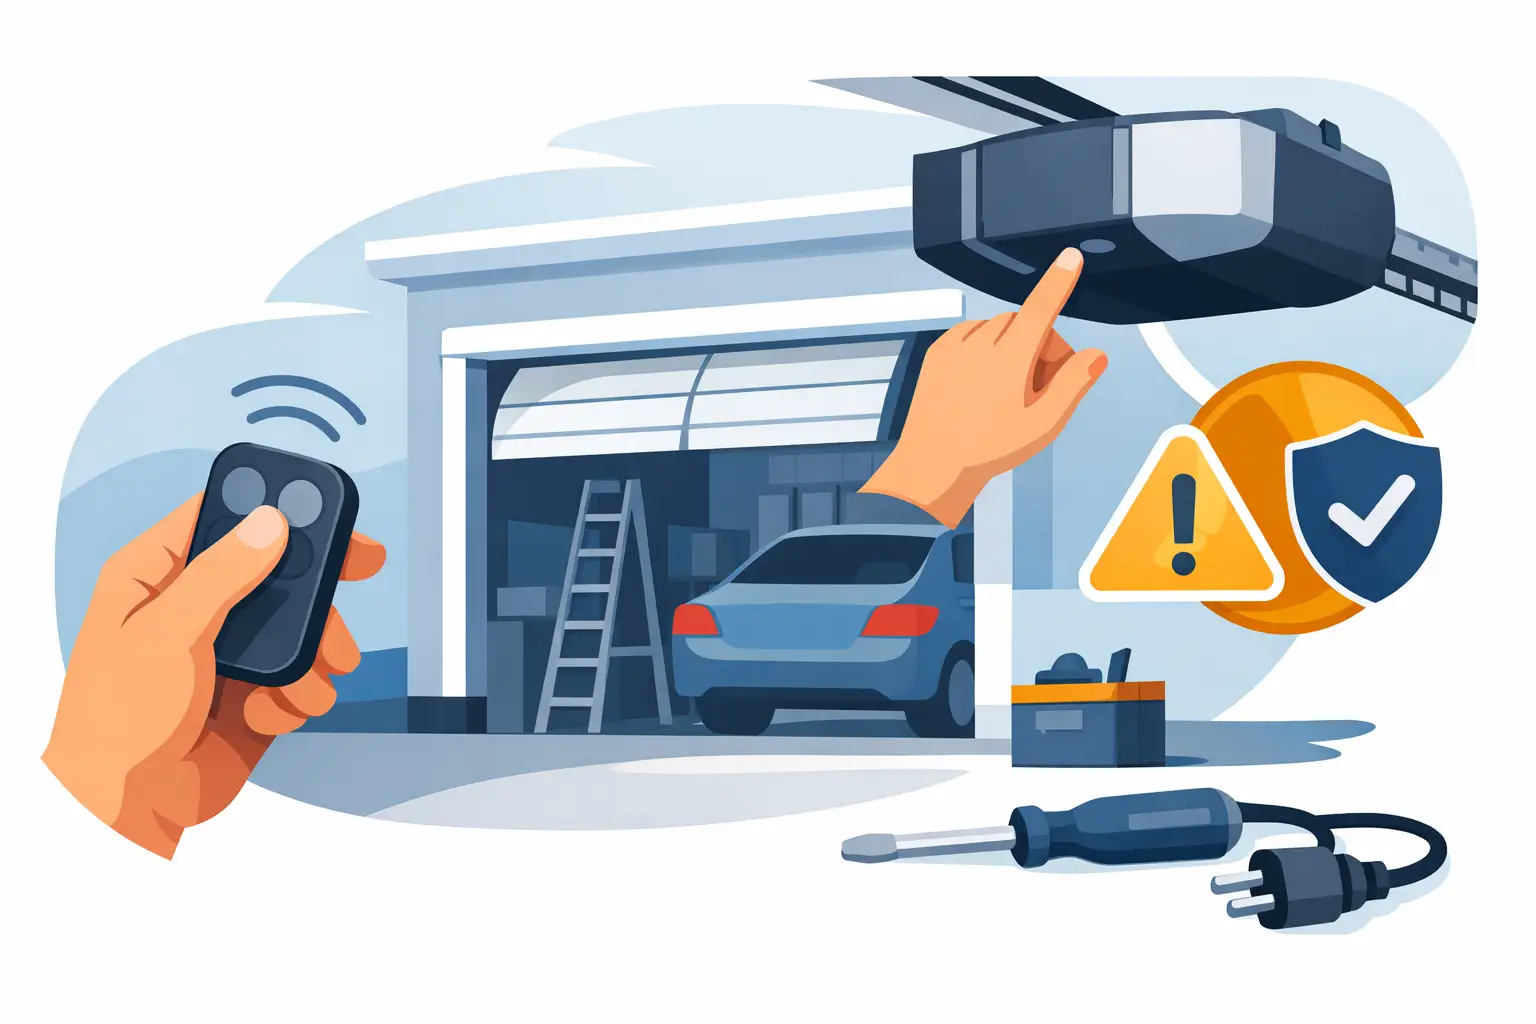
Next, locate the Learn, Program, or Smart button on the opener motor housing. It is commonly behind the light cover or on the rear or side panel. The button color and programming sequence vary by manufacturer, so use the label on the motor unit or the owner’s manual for the correct timing.
In most systems, you press and release the Learn button, then press the button on the remote within about 30 seconds. The opener light may flash or click to confirm the remote has been stored. Test it from outside the garage after programming.
If the remote still does not work, make sure you are not too far away and that the antenna wire hanging from the opener is intact. Signal interference can also affect performance, particularly near LED lights, wireless equipment, or metal structures. For commercial facilities, interference can be more complicated because of larger door systems, building materials, and multiple access controls.
Erasing All Remote Codes: Use This Reset Carefully
A full memory reset removes every programmed remote, keypad, and sometimes connected vehicle control from the opener. It is useful if a remote was lost or stolen, you moved into a property with unknown access devices, or the opener memory has become unreliable.
This reset is not the best first step when only one remote has stopped working. Erasing all codes means every authorized user will need to be reprogrammed afterward. For property managers and business operators, that can include several employees, tenants, delivery access devices, and vehicle remotes.
On many opener models, pressing and holding the Learn button for roughly six to 10 seconds erases the stored codes. The indicator light typically turns off or changes behavior when the memory is cleared. Release the button, then program each authorized remote, keypad, and vehicle control again one at a time.
Because the exact procedure differs by brand and generation, avoid holding buttons without confirming their function. Some buttons adjust force or travel settings, and changing those settings unnecessarily can create a door safety issue.
When the Door Opens but Will Not Close
If the garage door opens normally but reverses, stops, or refuses to close, do not assume the opener needs a full reset. The photo-eye safety sensors are the most likely cause. Clean both lenses with a soft cloth and check that their indicator lights are solid, not flickering. Align the sensors so they point directly at each other, then remove any objects blocking the doorway.
Try closing the door with the wall button. If holding the wall button down makes the door close, that strongly suggests a sensor alignment or sensor wiring problem. Holding the button is only a temporary test while you can watch the entire door path. It is not a permanent workaround for a failed safety system.
A door that closes partway and reverses may also be binding in the tracks, catching on ice, or encountering a mechanical problem. Never increase the opener force setting simply to make the door close. More force can make an unsafe door appear functional while increasing the risk of injury or damage.
Resetting Travel Limits and Force Settings
Travel limits tell the opener where the fully open and fully closed positions are. They may need adjustment after an opener installation, a control-board replacement, or certain door repairs. They are not normally changed after a routine power outage or a dead remote battery.
Symptoms of incorrect limits include a door that stops several inches above the floor, presses hard into the floor and reverses, or opens too far and strains the opener. Modern units often use up and down adjustment buttons, while older units may use manual limit screws. Follow the manufacturer-specific procedure exactly and test the door several times after adjustment.
Force settings deserve even more caution. If the door feels heavy, jerks, scrapes, moves unevenly, or will not stay halfway open when disconnected from the opener, the problem may be with springs, rollers, cables, tracks, or the door balance. Resetting force settings will not repair those issues. It can overload the opener and cause a more expensive failure.
Know When to Stop Troubleshooting
A reset is appropriate for simple electronic and programming problems. It is not a substitute for repair when the garage door system has a mechanical fault. Call for professional service if the opener only hums, the chain or belt moves without lifting the door, a cable is loose, a spring is broken, the door is off track, or the door is too heavy to lift manually.
You should also schedule service if the opener repeatedly loses programming, runs intermittently, makes grinding noises, or reverses without a clear sensor obstruction. These issues can indicate a worn gear, failing logic board, damaged wiring, or a door that is placing too much strain on the operator.
For commercial doors, avoid resetting controls repeatedly when a door is tied to daily deliveries, security access, or loading operations. A stalled commercial door can create a safety and security problem quickly. A qualified technician can diagnose the operator, door hardware, safety devices, and access controls as one system.
A Practical Reset Checklist Before You Call
Before arranging service, note whether the wall control works, whether the opener light flashes, whether sensor lights are steady, and whether the door moves smoothly by hand with the opener disconnected. Only disconnect the opener using the emergency release when the door is fully closed. If the door is open, crooked, or supported by a failing spring, do not pull the release cord.
Have the opener brand, approximate age, and a description of the symptom ready. That information helps a technician arrive prepared and avoids wasted time. Garage Door Mart Inc serves homeowners, property managers, and commercial properties throughout the greater Chicagoland area with opener diagnostics, repairs, replacements, and emergency garage door service.
A reset can restore convenience when the issue is electronic. When the door itself is fighting the opener, treat that as a service call, not a button-setting problem. A properly balanced, safety-tested door protects the people who rely on it every day.